back
to
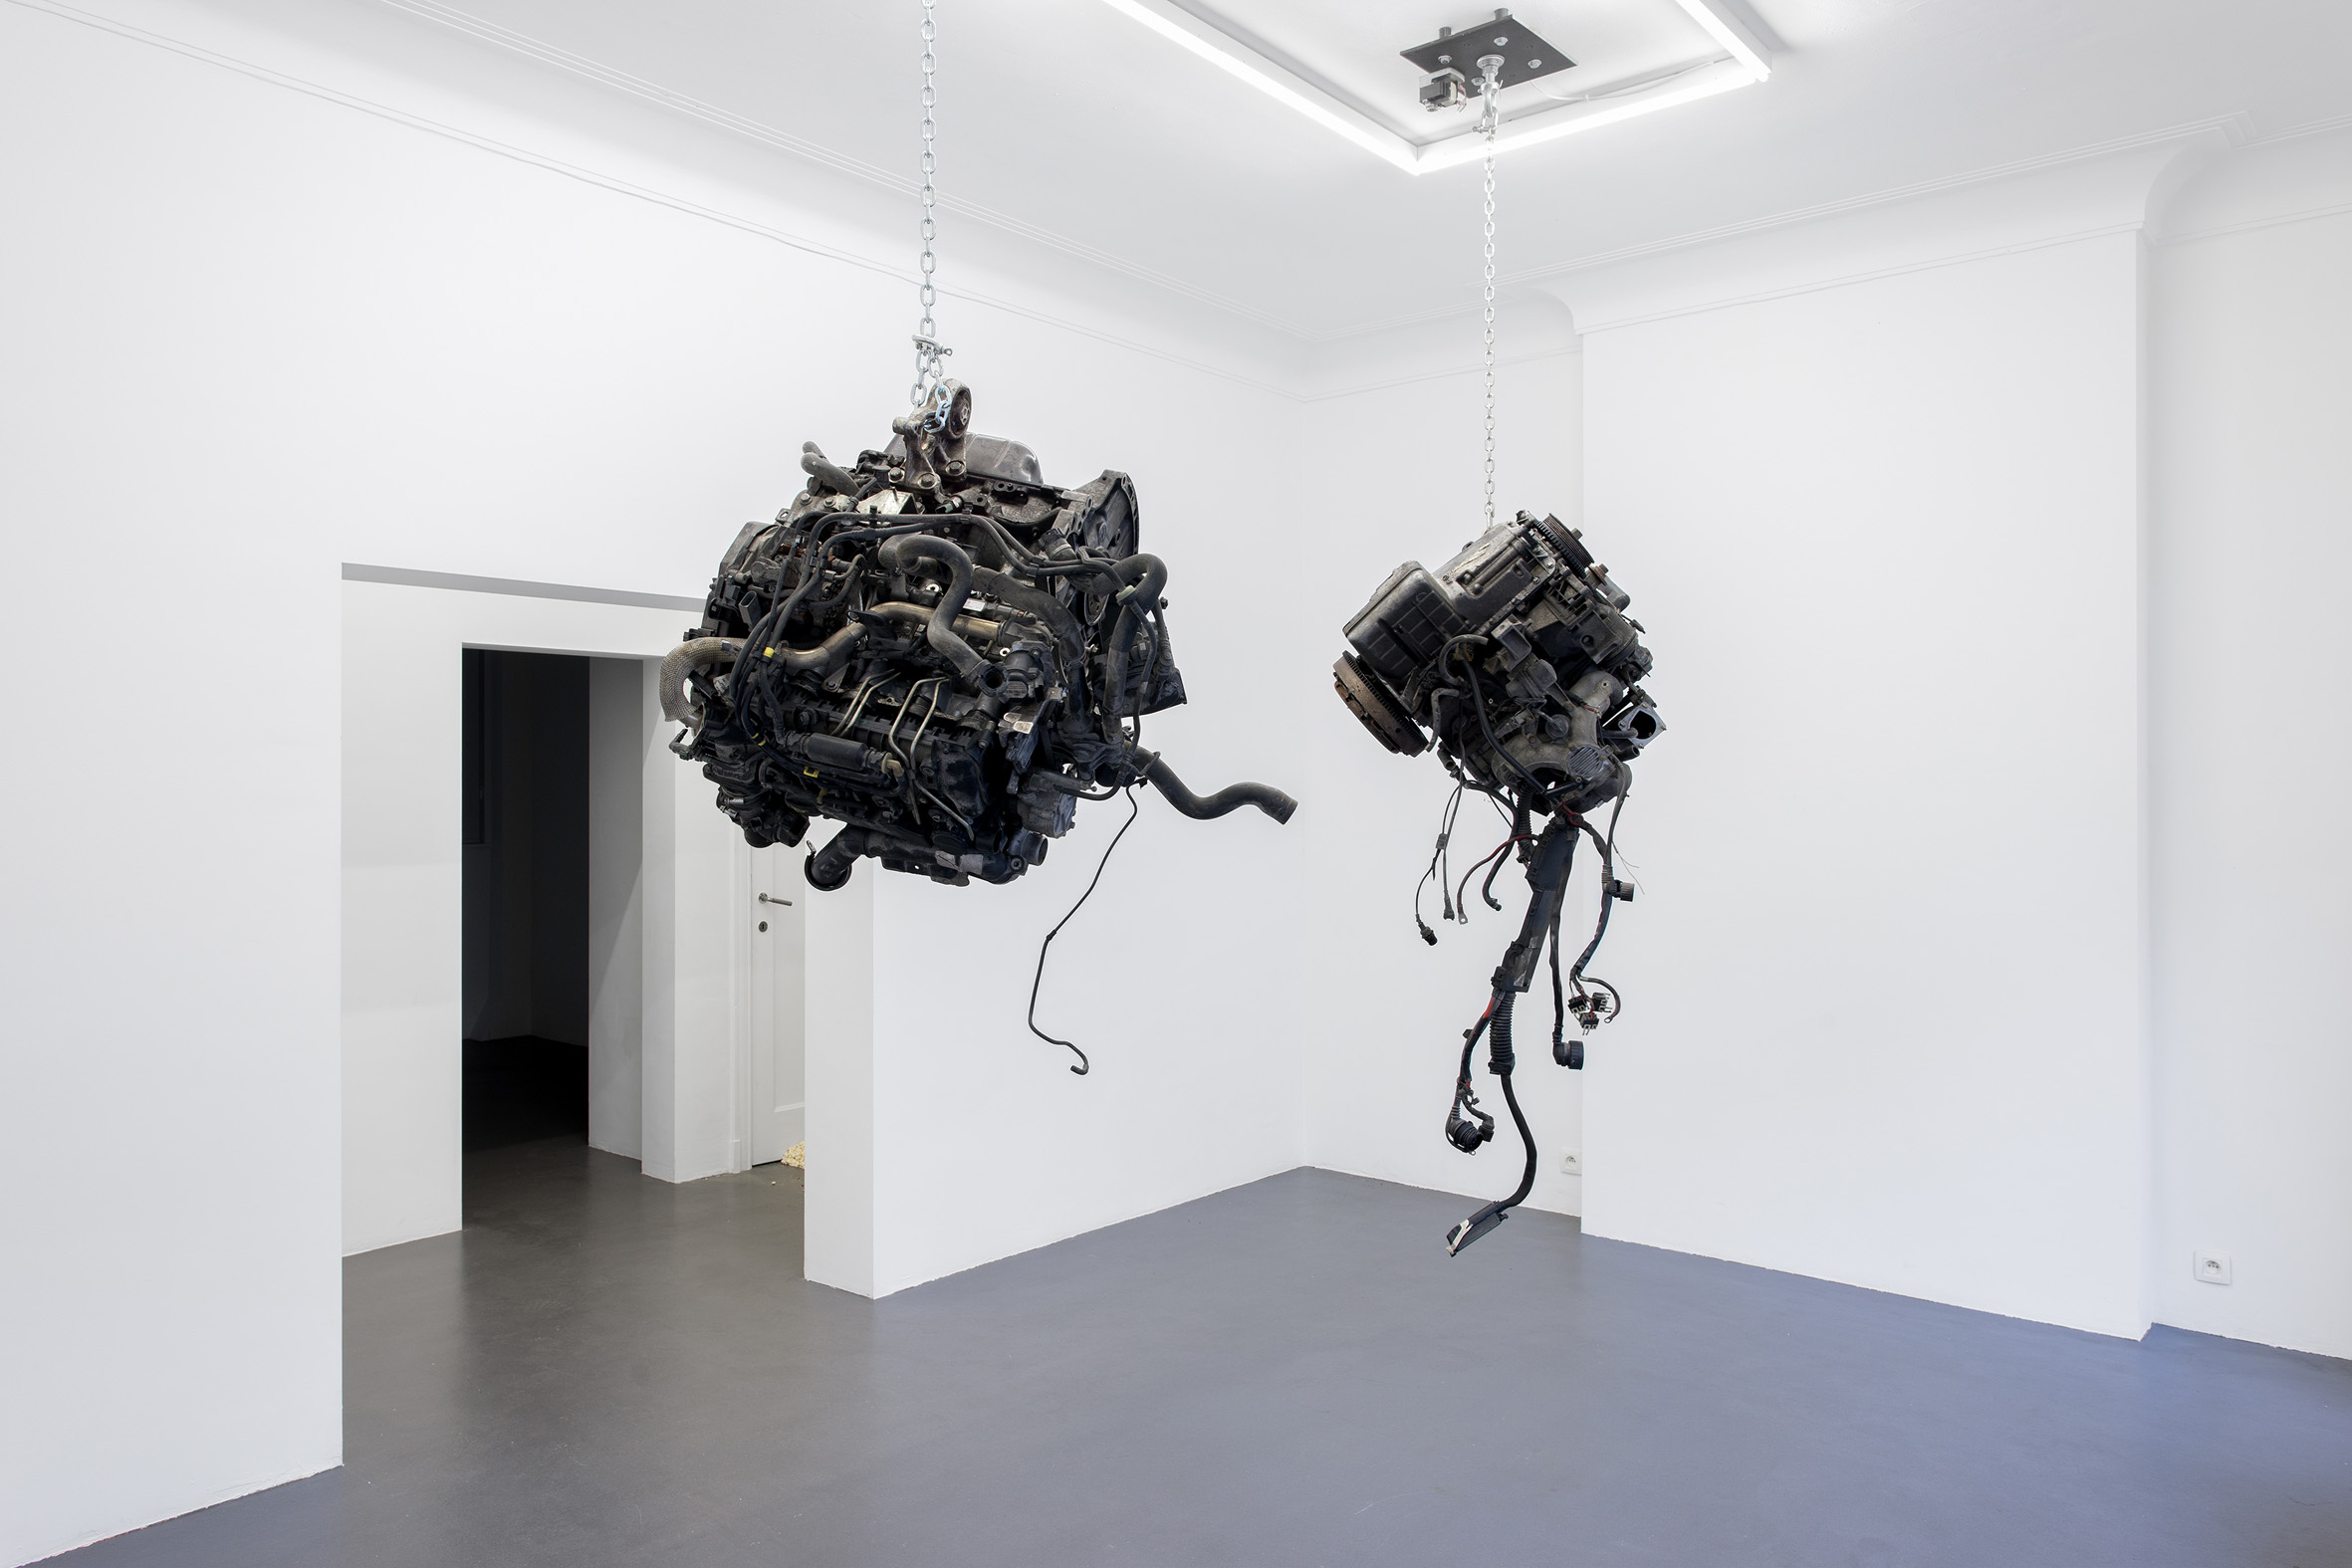
The Living and the Dead
back
to
Works
Photo © Hugard & Vanoverschelde